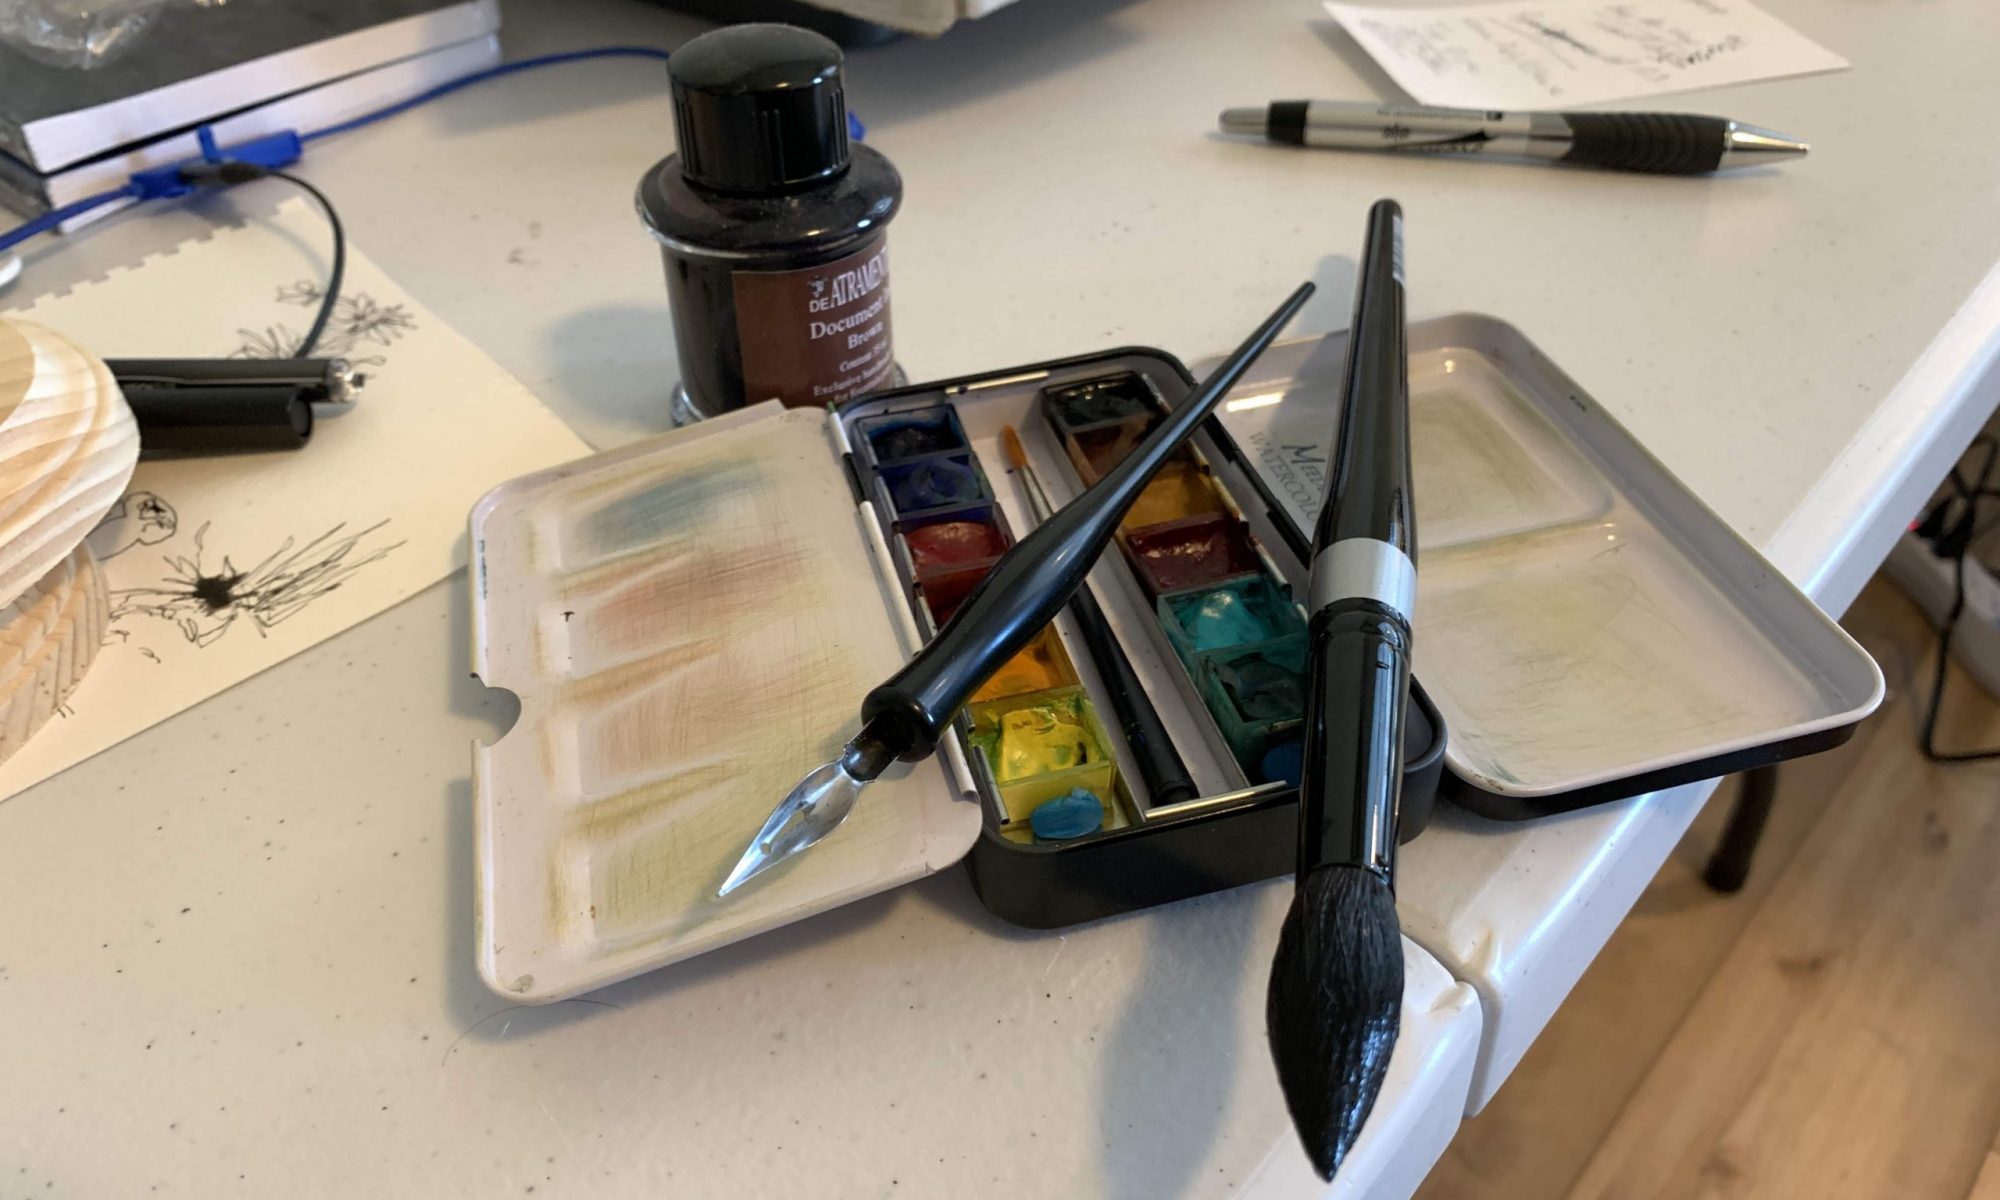
It’s time for me to get back to basics. After a month of pumping out paintings for World Watercolor Month I’ve decided what I need to do now is work the basics. What do I mean by basics? I’m glad you asked.
My “style”, if you will, pretty much revolves around pen & ink and watercolor. I’m not an oil painter. I don’t work in pastels or acrylics and my style is based upon a sort of realism that’s, I believe, a bit like illustration. With that in mind, as I look at my recent works I want to delve deeper into my pen & ink work and basic watercolor.

To that end I picked up a book at our local library called Creating Textures in Pen & Ink with Watercolor by Claudia Nice (CN). This book has some great exercises for both pen & ink and watercolor and the best part is it combines both in one book.
I begin my back to basics work with a quick sketch of a pelican…and I DO mean quick, working with a couple of textures Claudia mentions in the book. I’m inking with a Pigma Micron #02 pen. This exercise is like practicing scales on a piano, good basic practice to work up to more complicated sketches. Most, if not all, pen & ink sketches use these types of textures; contour, stippling, scribbling, parallel, wavy, criss-cross, and cross hatching.
Alphonso Dunn (AD) in his book Pen & Ink Drawing calls these strokes vice texture but the idea is still the same. He adds some several other hatching textures; long hatching, short hatching, uneven hatching, and curved hatching as well.

So with a bit of practice we can now take the lines and use them to make simple drawings. Here I’ve used flowing lines (AD) or wavy lines (CN) to make a piece of dried wood. Short, long, and uneven hatching (AD) or criss-cross, parallel (CN) lines are used to make a glass bottle. (Again, these are practice sketches and done fairly quickly)

Going back to basics with pen & ink can help me “save” a previous painting I wasn’t real happy with. Many times when I do a painting of a flower, for example, I think I’ll just try straight watercolor. If I’m not pleased with the results, I can add ink and make the painting “pop”. Here’s an example of one I’d originally wanted to try STRICTLY with watercolor but decided it need ink.

Another one I’m working on is a more complicated piece from a photo we took while visiting Wildseed Farms her in Fredericksburg. This painting has a small pond, a blackbird, rocks, grass, and a fence that can all be “popped” with ink.
This painting is still in progress and will take awhile to finish but I think that by going back to basics and adding some ink and working on some of the watercolor texture techniques Claudia talks about in her book, the sketch will look pretty good.

Next week I’ll show some of the watercolor work from Claudia’s book. If you’re interested in learning more about pen & ink, I HIGHLY recommend Alphonso Dunn’s Pen & Ink Drawing, A Simple Guide.
In the mean time, go out and make some art!
