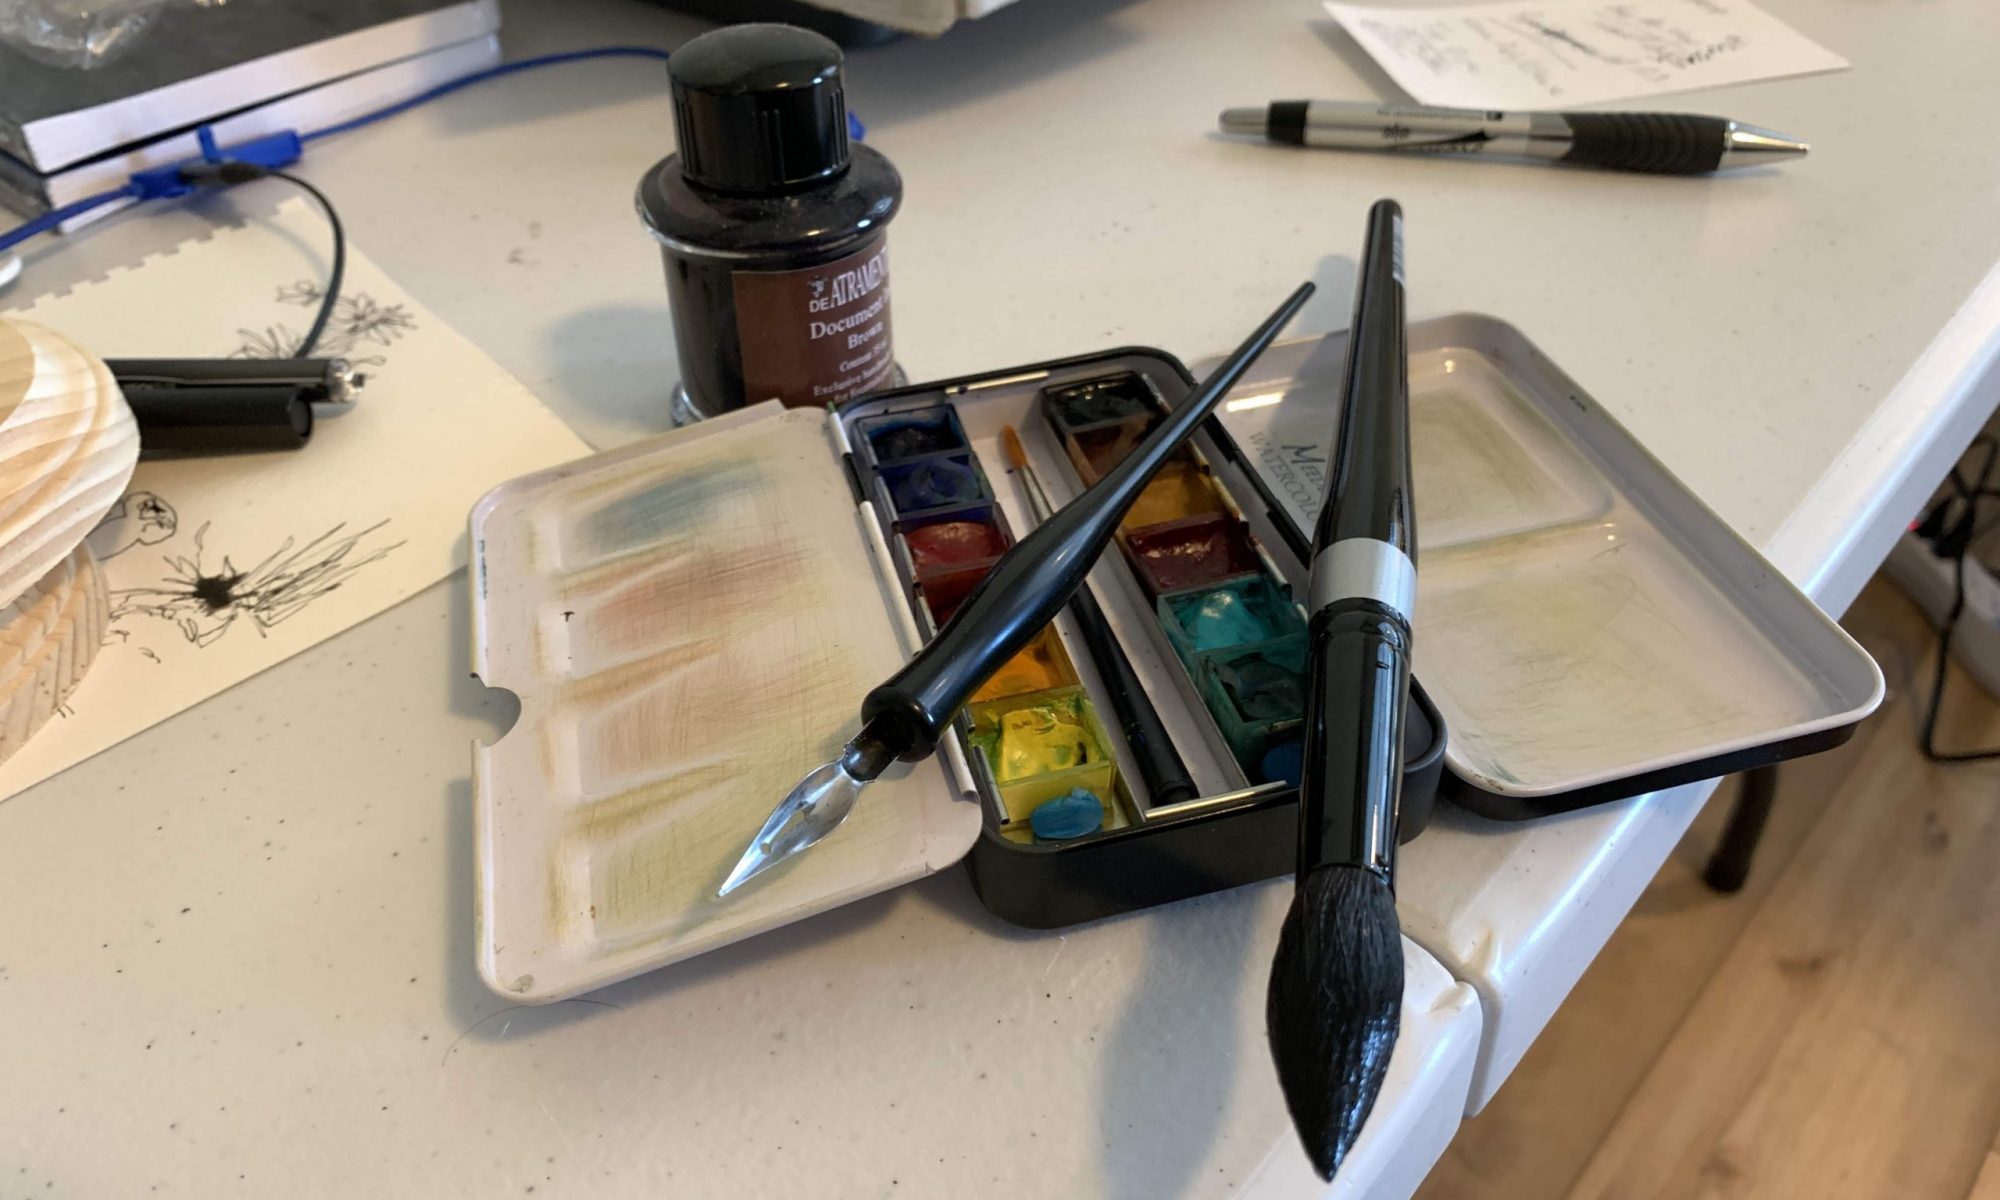
I like to experiment with different techniques of pen & ink. Recently I bought a dip pen with several nibs and went to work on a couple of botanical studies.
On the Pink Crape Myrtle painting to the left I penciled in the overall outline before going to the pen & ink. Usually when I’m using a fountain pen I tend to just draw out the sketch without first penciling in the outlines. Freely inking the sketch forces me to concentrate more as I draw my subject.

The photo to the right (Texas Crape Myrtle) is one using the same subject photograph where I did NOT draw in pencil lines but went right to pen & ink. Oh and both these drawings were done with my new dip pen. On the Pink Crape Myrtle I also didn’t add any contour or hatching with pen & ink. On the second sketch I did add a bit.
I also experimented with two types of ink on these sketches. Pink Crape Myrtle was done with Noodler’s Ink while Texas Crape Myrtle was done with deAtramentis Ink. I’ve found when using them in fountain pens Noodler’s doesn’t dry quite as quickly as the deAtramentis ink and if I’m in a hurry it’s better to use a fast-drying ink.
After sketching the crape myrtles I decided to kick it up a notch and try my pen & ink technique on a new paper I’d just bought. Normally I work on Arches 140 lbs cold press paper, however, I’m pushing myself to paint larger and more complex paintings so I wanted to go to a heaver watercolor paper. Arches has a 300 lbs cold press paper and after my last commission I had the money I needed to buy the $8 per sheet media.

Here’s my first painting on 300 lbs paper, I call it The Yellow Roses of Texas. Heavier paper means I can use more water and more water means more layers without saturating and ruining the paper.
On this sketch I draw in with pencil first. I did this to get an idea of scale and to make sure what I wanted to paint would fit on the odd-shaped paper. After drawing the outline in pencil I then painted BEFORE going to pen & ink.
After the base layer of paint dried I then added ink to get the outline before going back and adding more paint for shadowing and contour. Once the paint was dry I went in with pen & ink to add hatching for depth and contour.
You’ll see an ink spot on the top rose that came after I decided to try another, bigger nib. After two ink spots I went back to my smaller nib and didn’t have any more problems. I painted in one more layer of color before adding some final details then called it finished.
It’s been fun experimenting with different techniques, media, and pens.
Eight days into #worldwatercolormonth and I’m adding to my inventory and getting a good education. What more could I ask for.
Thanks for stopping by…now go make some art!
